Convert KML to ESRI Shapefile (web-based method)
A web-based method for converting KML to SHPIntroduction
Keyhole Markup Language (KML) is the primary spatial data format used by Google. Although its popularity has waned in recent years, it still remains a widely used format. The Scott County PVA, for instance, allows you to download an individual parcel’s boundary lines as a KML file. While KML will work for many basic mapping cases, you might find yourself in a situation where you need a different file format. When this happens, you need a way to convert from KML to that file format. There are a number of ways to do this, including using the command line, desktop GIS software, or web-based conversion tools. Each offer their own advantages and disadvantages and strike different balances between ease of use and functionality.
The purpose of this tutorial is to help someone with little experience working with spatial data to be able to convert between KML to another common spatial data format, ESRI’s shapefile (shp). Drawing on parcel data from the Scott County PVA, we’ll look at how to use gisconvert.com to handle the conversion.
Download parcel boundary
This tutorial assumes that you already have a KML file of a parcel’s boundaries. If you’re unsure how to download a parcel’s boundaries from the Scott County PVA, check out this quick tutorial first.
KML → SHP
- Open up your preferred web browser (Chrome or Firefox recommended) and go to gisconvert.com.
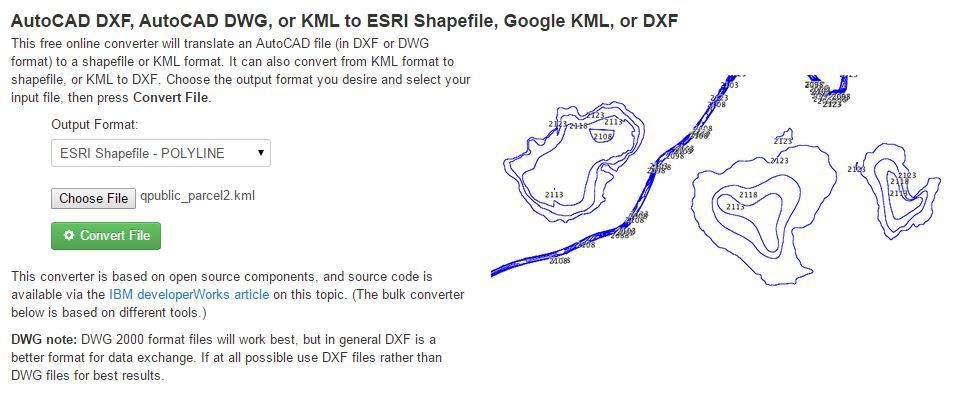
- There are a few different tools on this website, but we’re only concerned with the very first one. It is entitled AutoCAD DXF, AutoCAD DWG, or KML to ESRI Shapefile, Google KML, or DXF:
- First you’ll need to specify the output format. Click on the dropdown menu and you’ll notice a variety of file types and geometries you can pick from. In this case we’ll just stick with the default,
ESRI Shapefile - POLYLINE.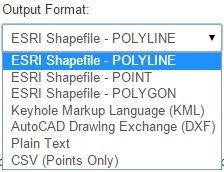
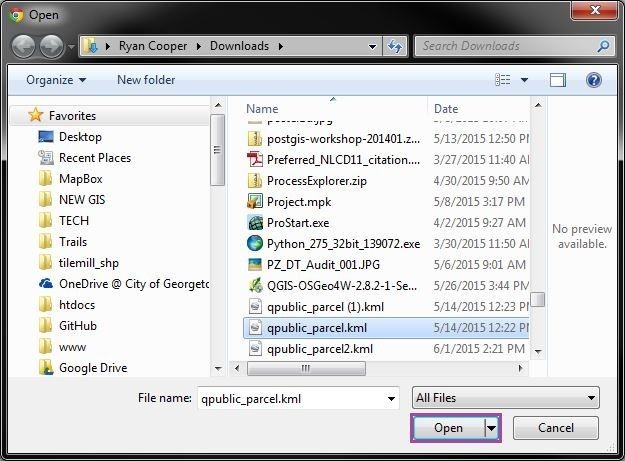
- Next, click Choose File and select the KML file you want to convert. Click Open.
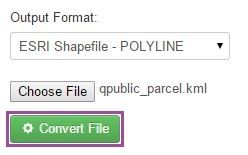
- Finally, click the green Convert File button.
A window will pop open indicating that you will be savingoutput.zipas a zipped folder. The various files that make up shapefile will be stored and compressed in this zipped folder. If you’d like, go ahead and change the file name and the save location. Click Save.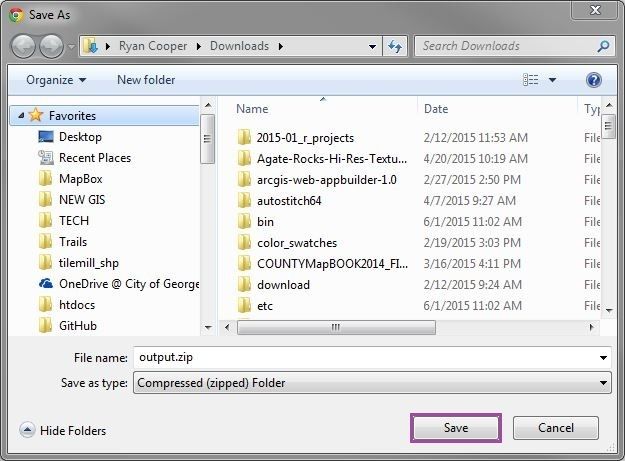
- Depending on your intentions for the shapefile, you may be able to stop here. Because a shapefile consists of a minimum of three (3) files (.shp, .shx, and .dbf) it can be a cumbersome format to manage and be a bit confusing for the novice. As such, many applications will allow you to just load the zipped folder containing the shapefile rather than extract the shapefile’s components.
However, if you need to extract the component files of your shapefile, in Windows, simply navigate to the folder where your zipped up shapefile is stored, right-click, and select Extract all….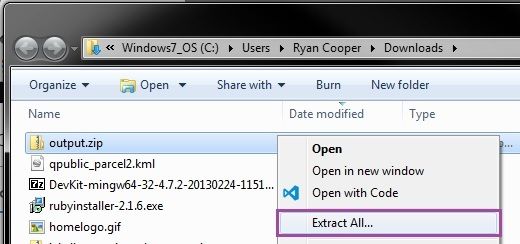
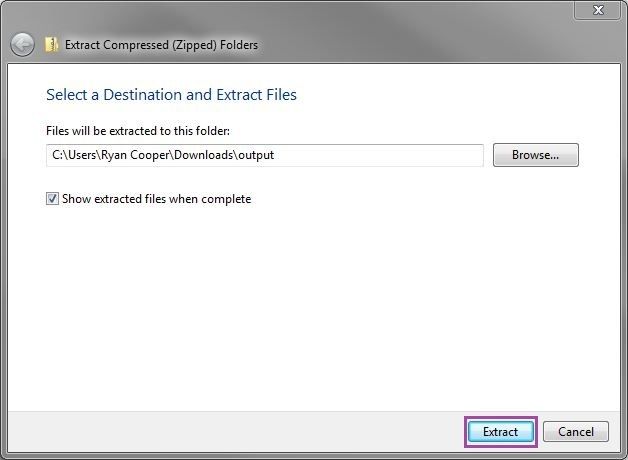
- A window will pop up directing you specify where you’d like the your computer to extract the zipped up shapefile components to. Once you’re happy with the location of extraction, click Extract.
- The components of your shapefile are now extracted. Congrats!

As you may have noticed through this tutorial, shapefiles are a little bit clunky to move around. It is very important that you keep the components of your shapefile together and all with the the same name. For example, if your shapefile is called output, all the components of the shapefile must be called output. If, for example, you change output.shp to maps.shp, your shapefile will not be accessible. It may be a good idea to keep the zipped up version originally downloaded from gisconvert.com nearby in case one of your shapefile’s extracted components gets lost in the shuffle.